Guide for resizing GPT partitions
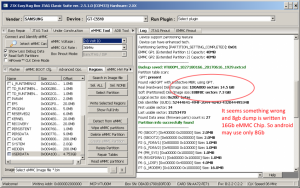
GUIDE FOR RESIZING GPT PARTITIONS Sometimes phones need eMMC card replacement procedure , sometimes its possible to upgrade chip with other amount of memory. Today sample is SM-J320FN with upgraded 16Gb storage so we installed a 16Gb eMMC instead 8Gb and written back its native 8GB dump. Here it is screen of detecting eMMC partitions:
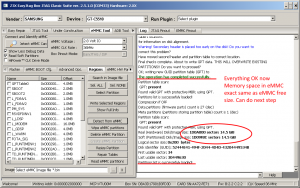
Something wrong yes? eMMC GPT Data from native 8Gb flash are hold old parameters , so phone did not see change ) So we need to ReCalculate GPT tables for new eMMC. Just click Repair Tables button. Now GPT size is match eMMC Sizes
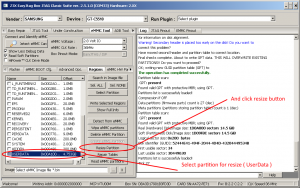
Next step is resize USERDATA partition; It still use 4.75Gb but can be much bigger so we need select partition for resize ( note: currently supported only last partition for resizing ) and resize partition dialog will appear.
Partition resize dialog is very simple you can make partition smaller of bigger 😉 With a single slider. Then click resize partition to confirm;
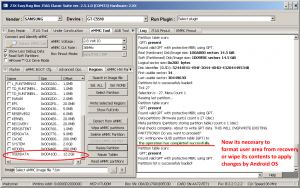
After a few seconds partition have a new size. We need just format it from recovery or wipe from EasyJTAG suite.
Done, Android OS can use all space of eMMC card; Upgrade is complete


